1) Remove makeup from the eye area with the Thuya Water-Based Eye Makeup Remover or the Eye Makeup Remover Water Based Curcuma. Dry excess moisture with a tissue.
2) Place your choice of lash lift shield onto the eyelid.
3) Once shield is in desired position, apply lash lift adhesive on the Silicone Pad in sections and lift the lashes on the silicone pad in an upward motion. Make sure the lashes are separated and lined up in the same direction over the bump.
Tip: Start lifting the lashes from the outside to the tear zone of the eyes, dividing it in three zones.
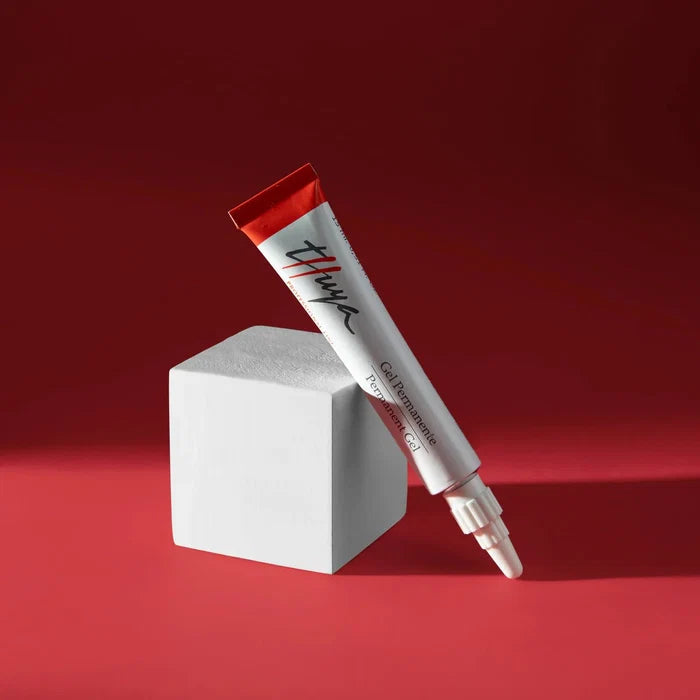
4) Once the lashes are well attached to the Silicone Pad, apply Permanent Gel (it will always be necessary to remove the first drop of the product.) The amount needed for this process is the size of a rice grain. Spread the product in the middle part of the eyelash, leaving approximately 1mm from the lash line.
5) Cover the eyelashes with an osmotic film and a tissue and let it act for up to 15 minutes.
6) After the allotted time, remove the product with a dry cotton swab.
7) Apply Liquid Neutralizer in the same manner as the Permanent Gel.
8) Cover it with osmotic film and a tissue. Let it act the same amount of time as the permanent gel.
9) After 15 minutes, remove the osmotic film and tissue and thoroughly remove the product and the silicone pad with a moisturized cotton swab and/or pad.
10) Dry excess moisture with a tissue and comb the eyelashes up.
11) Once the eyelash lift is done, it is recommended to tint the lashes, to obtain better result. Tinting enhances, treats, and nourishes the hair.
12) With a cotton swab apply the Special Dye Protector Cream on the lower part of the eye, being careful to not touch the eyelashes.
13) Apply Protector Paper on the lower part of the eye on top of the Special Dye Protector Cream. The lower eyelashes need to be on top of the Protector Paper to proceed with the tint.
14) In a small mixing dish, mix equal quantities of the Thuya Dye and the Special Solution Dye. For each dye size (approximately a rice size) add one drop of Special Solution Dye.
15) Using a Dye Applicator Brush, apply the mixture on the eyelashes and let it act for 15 minutes.
16) After the exposure time, remove the excess of product with a dry cotton swab and with a moisturized cotton pad and start removing all the product.
17) Apply Regenerating Cream. Allow to sit for 24 hours.
Aqua (Water), Ammonium Thioglycolate, Ammonium Bicarbonate, Ammonium Acryloyldimethyltaurate/VP Copolymer, Dipropylene Glycol, Hydrolyzed Collagen, Ammonia, Ethanolamine, Disodium EDTA, Boswellia Serrata Gum, Sodium Hydrosulfite, Phenoxyethanol, Sodium Hydroxide, Benzoic Acid, Sodium Benzoate
Made in Spain